


![JSAUX anti-glare matte screen protector for ROG Ally and ROG Xbox Ally series #style_[2-pack] for all rog ally models](http://jsaux.com/cdn/shop/files/GP0113A-Anti-Glare-Screen-Protector-for-ROG-Ally-_-ROG-Xbox-Ally-Series-1_jpg.png?v=1762310072&width=92)


![Grey 2-pack 90 degree USB-C to USB-C right angle adapters #style_grey [2-pack]](http://jsaux.com/cdn/shop/files/90_-USB-C-to-USB-C-Right-Angle-Adapter-grey-1.png?v=1755238920&width=92)


![JSAUX anti-glare screen protector 2-pack for Lenovo Legion Go 2 with alignment frame #model_for legion go 2 [2-pack]](http://jsaux.com/cdn/shop/files/GP0132-Anti-Glare-Screen-Protector-for-Legion-Go-2-1.png?v=1766136633&width=92)


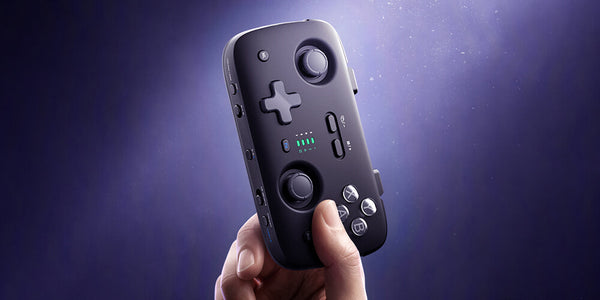
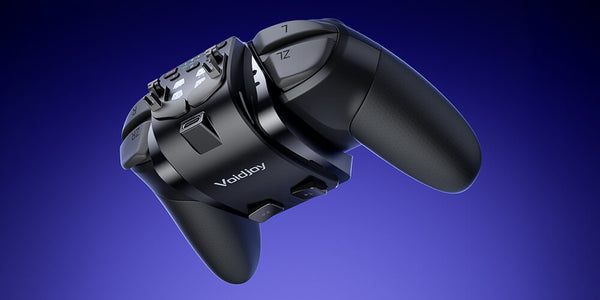
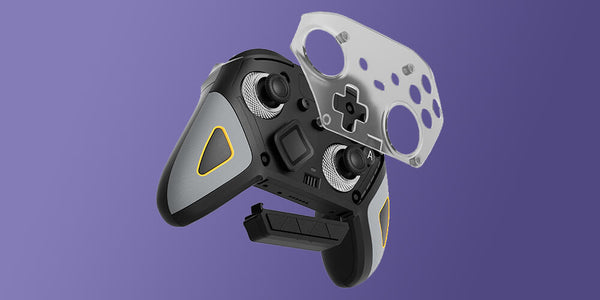
VOIDJOY Elite Extender for Switch Pro Controller Operation Guide
VOIDJOY Elite Extender for Switch Pro Controller
Operation Guide
Operation Video
Product Overview
1.Button Layouts


2.Install and Remove the ExtendPack
-
Install the ExtendPack

-
Remove the ExtendPack

3.Install and Remove the Magnetic Triggers
-
Install the Magnetic Triggers


-
Remove the Magnetic Triggers


Quick Start
1. Charging & Remaining Battery Check
- During Charging:
While charging, the indicators flash from empty to full.
( Red indicator lights turn on ;the last battery level indicator flashes.) - Charging Complete:
When charging is finished, all four red indicator lights stay steadily lit.
- Remaining Battery Check:
While in use, press [Fn] and [MODE] to display the remaining battery power. The built-in battery level is shown for about 3 seconds in the following four states. Indicator LED Indicator LED Status.

2. Bluetooth Connection
When the orange mode indicator flashes slowly, the extender is attempting to reconnect. Press and hold the mode button to cycle through connection modes.
Select the required mode, then press and hold the Bluetooth pairing button. Release the button when the orange indicator flashes quickly.
Open the Bluetooth settings on the target device and select the broadcast name for the required mode.
Basic Operation
1. Mode Selection
During startup reconnection or normal operation, press and hold the mode button to switch modes.
[S]:Switch Console / Pro Controller mode for PC
[X]:Xinput mode for PC / iPad / iPhone / Android ( phone/tv )
[D]:Dinput mode for PC / Android ( tv ) / Raspberry Pi
[T]:Virtual touch mode for Android
2. TURBO Settings
- TURBO: Press Fn together with a supported controller button to enable rapid fire.
- Auto TURBO: Press Fn together with the same controller button twice to enable automatic rapid fire.
- Supported buttons include A, B, X, Y, L, R, ZL, ZR, LS, RS, - and +.
3. Macro Recording with LT, RT, P1 and P2
- Recording:Press Fn + LT/RT/P1/P2 to start recording a macro. The indicator for the selected expansion button turns red.
- Saving a macro:After entering the button sequence, press LT/RT/P1/P2 again to save it. The red indicator turns off.
- Clearing a macro: Hold Fn and press LT/RT/P1/P2 twice to clear it. (This saves an empty macro.)
4. Mapping buttons with LT/RT and P1/P2
When only one button is recorded to an expansion button, the expansion button functions as a mapped button.
*To change mapping for the Controller body function buttons, use the mapping menu page in the app.The [X] mode LT/RT key mapping is only stored temporarily and will revert to the linear trigger function when the power is turned off and on again.
5.Forced Motion sensing with extended LT/RT and P1/P2 (instead of right stick)
- If one [Screenshot] button is recorded, hold the expansion button to enable Motion Control; release it to disable the function.
- If two [Screenshot] buttons are recorded, press the expansion button once to enable Motion Control, then press it again to disable Motion Control.
*In Switch mode, the [Screenshot] button is mapped as the screenshot/video capture button and does not function as a Motion Control switch. When 2 or more buttons other than this button are recorded, they are saved as a button sequence (macro setting)
6.Switch Controller Player number display

KeyLinker App
The KeyLinker App provides advanced controller customization.
You can use it to adjust:
- Button mapping
- Stick sensitivity and dead zones
- Trigger sensitivity
- Vibration intensity
- Macro settings
- Turbo settings
- Lighting effects
- Firmware updates
- Controller testing
The controller can remain connected to the gaming device while configuration settings are adjusted through the app.
Download KeyLinker
Full User Manual
For detailed button combinations, mode indicators, troubleshooting and safety information: [Download the Full User Manual]