Introduction:
The ROG Ally is already a pretty nifty little handheld, but sometimes you just want to take it to the next level by moving beyond the portable screen to be able to enjoy gaming on a big screen. In that case, we have a practical, no-fluff guide that will get you there (plus some dock picks that will make it easier).
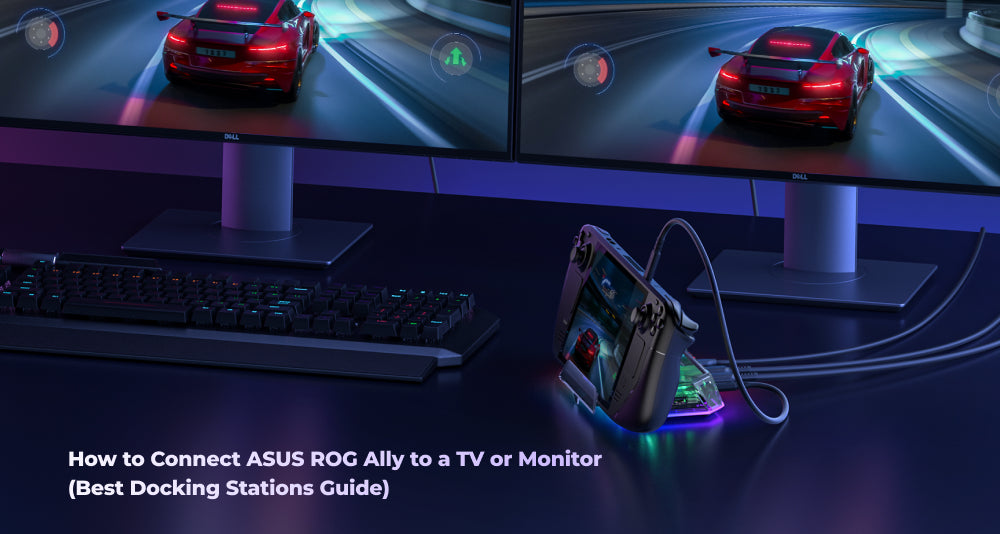
First up, the basics. The official ASUS guide shows you exactly how to hook up your ally to a display via a dock, but let’s summarize here regardless. In layman’s terms, you connect the Ally’s USB-C port into a docking station (or a “Gaming Charger Dock” in ASUS’ parlance), then run a HDMI cable from the dock to the tv or monitor.
Bear in mind, you ideally want to be using an ultra high speed HDMI cable if you want to push 4k. Windows should automatically detect a new display and you can use the M1/M2 + X button combo on your Ally to switch between duplicate, extend or single-display modes. Alternatively you can achieve this by heading into the Settings -> System -> Display and find the options there. The other important thing to remember is to ensure that your TV/Monitor resolution and refresh rate are set appropriately- Usually, 1920x1080/60Hz is often a safe bet, although the Ally can upscale or push higher settings if you wish.
Finally, plug in your controller (whether it’s wired, 2.4GHz or Bluetooth, up to your preferences!), disable the built-in gamepad via the Command Center (turn off “Embedded controller”), and you’re good to go.
WIth that out of the way, let’s talk docks, because they’re quite important. You ideally want a dock that can handle video output, power delivery AND all the extra ports (for example USB, Ethernet, Card Readers etc) without flinching or fault. To that end, we have a couple of great options for you:
🔹HB1201S RGB Docking Station: This 12-in-1 dock from JSAUX Gaming supports HDMI 2.1 (4k@120Hz), DisplayPort 1.4, VRR, HDR, and has a 100w USB-C PD port to keep your Ally charged while you play. It also includes stuff like the USB-A Ports, SD/TF card slots, Ethernet and RGB lighting (which can be turned off if you prefer playing without the lights). With its wide range of connectivity, it’s one of the best docking stations for ROG Ally players who want a complete home gaming setup.
🔹HB0705 7-in-1 RGB Cooling Docking Station: If you want something that also provides you with a cooling solution, this might be the one for you. It combines 7 ports (including HDMI 2.1, USB, etc.) with RGB fans to dissipate heat, which is ideal for longer gaming sessions. Its video features such as 4k@120Hz, VRR, HDR etc are solid too, although it does trade off some extra ports to implement cooling into the device.
Outside of that, JSAUX Gaming also offers other dock options and accessories which can be found in the ROG Ally/X Accessories Collection.
Summary:
Connecting your ASUS ROG Ally to a TV or monitor is fairly straightforward: use a USB-C to dock, HDMI (or DisplayPort) setup, adjust your display settings in windows, and plug in your controller. And while all this is good, having a good quality dock like our HB1201S or the HB0705 can make the experience much smoother. With the right dock and setup, your Ally becomes a full-fledged “big screen” gaming machine in seconds.


![#style_[2-pack] for all rog ally models](http://jsaux.com/cdn/shop/files/GP0113A-Anti-Glare-Screen-Protector-for-ROG-Ally-_-ROG-Xbox-Ally-Series-1_jpg.png?v=1762310072&width=92)


![#style_blue&orange [2-pack]](http://jsaux.com/cdn/shop/files/90_-USB-C-to-USB-C-Right-Angle-Adapter-blue-orange-1.png?v=1755238920&width=92)


Leave a comment
All comments are moderated before being published.
This site is protected by hCaptcha and the hCaptcha Privacy Policy and Terms of Service apply.