GP0300 Installation FAQ
Have questions? We're here to help >>> official@jsaux.com
Installation tips and precautions
Precautions for disassembly
Q1. What should be paid attention to when disassembling the machine?
A1. Replacing the screen is a difficult and time-consuming task that is expected to take 1 to 1.5 hours. The disassembly process is also prone to damaging the game console, so we strongly recommend seeking the help of a professional repair person. Regarding changes to the whole machine maintenance policy caused by disassembly, please refer to the information officially released by VALVE.
As an additional precaution, Valve recommends entering the BIOS and adjusting the Steam Deck to battery storage mode before starting internal repairs. If you have installed a Micro SD card, please remove it before disassembly.
Before starting disassembly, please ensure that the Steam Deck battery level has dropped below 25% and has been completely shut down, and all connected cables have been disconnected. Follow the anti-static safety regulations during the operation and properly store the removed original parts. Please note that accidentally damaging a charged lithium-ion battery can cause serious danger.
During the repair process, please manage the screws properly, ensure that they are correctly placed back in their original positions, and avoid damaging the Steam Deck.
Use of accessory tools
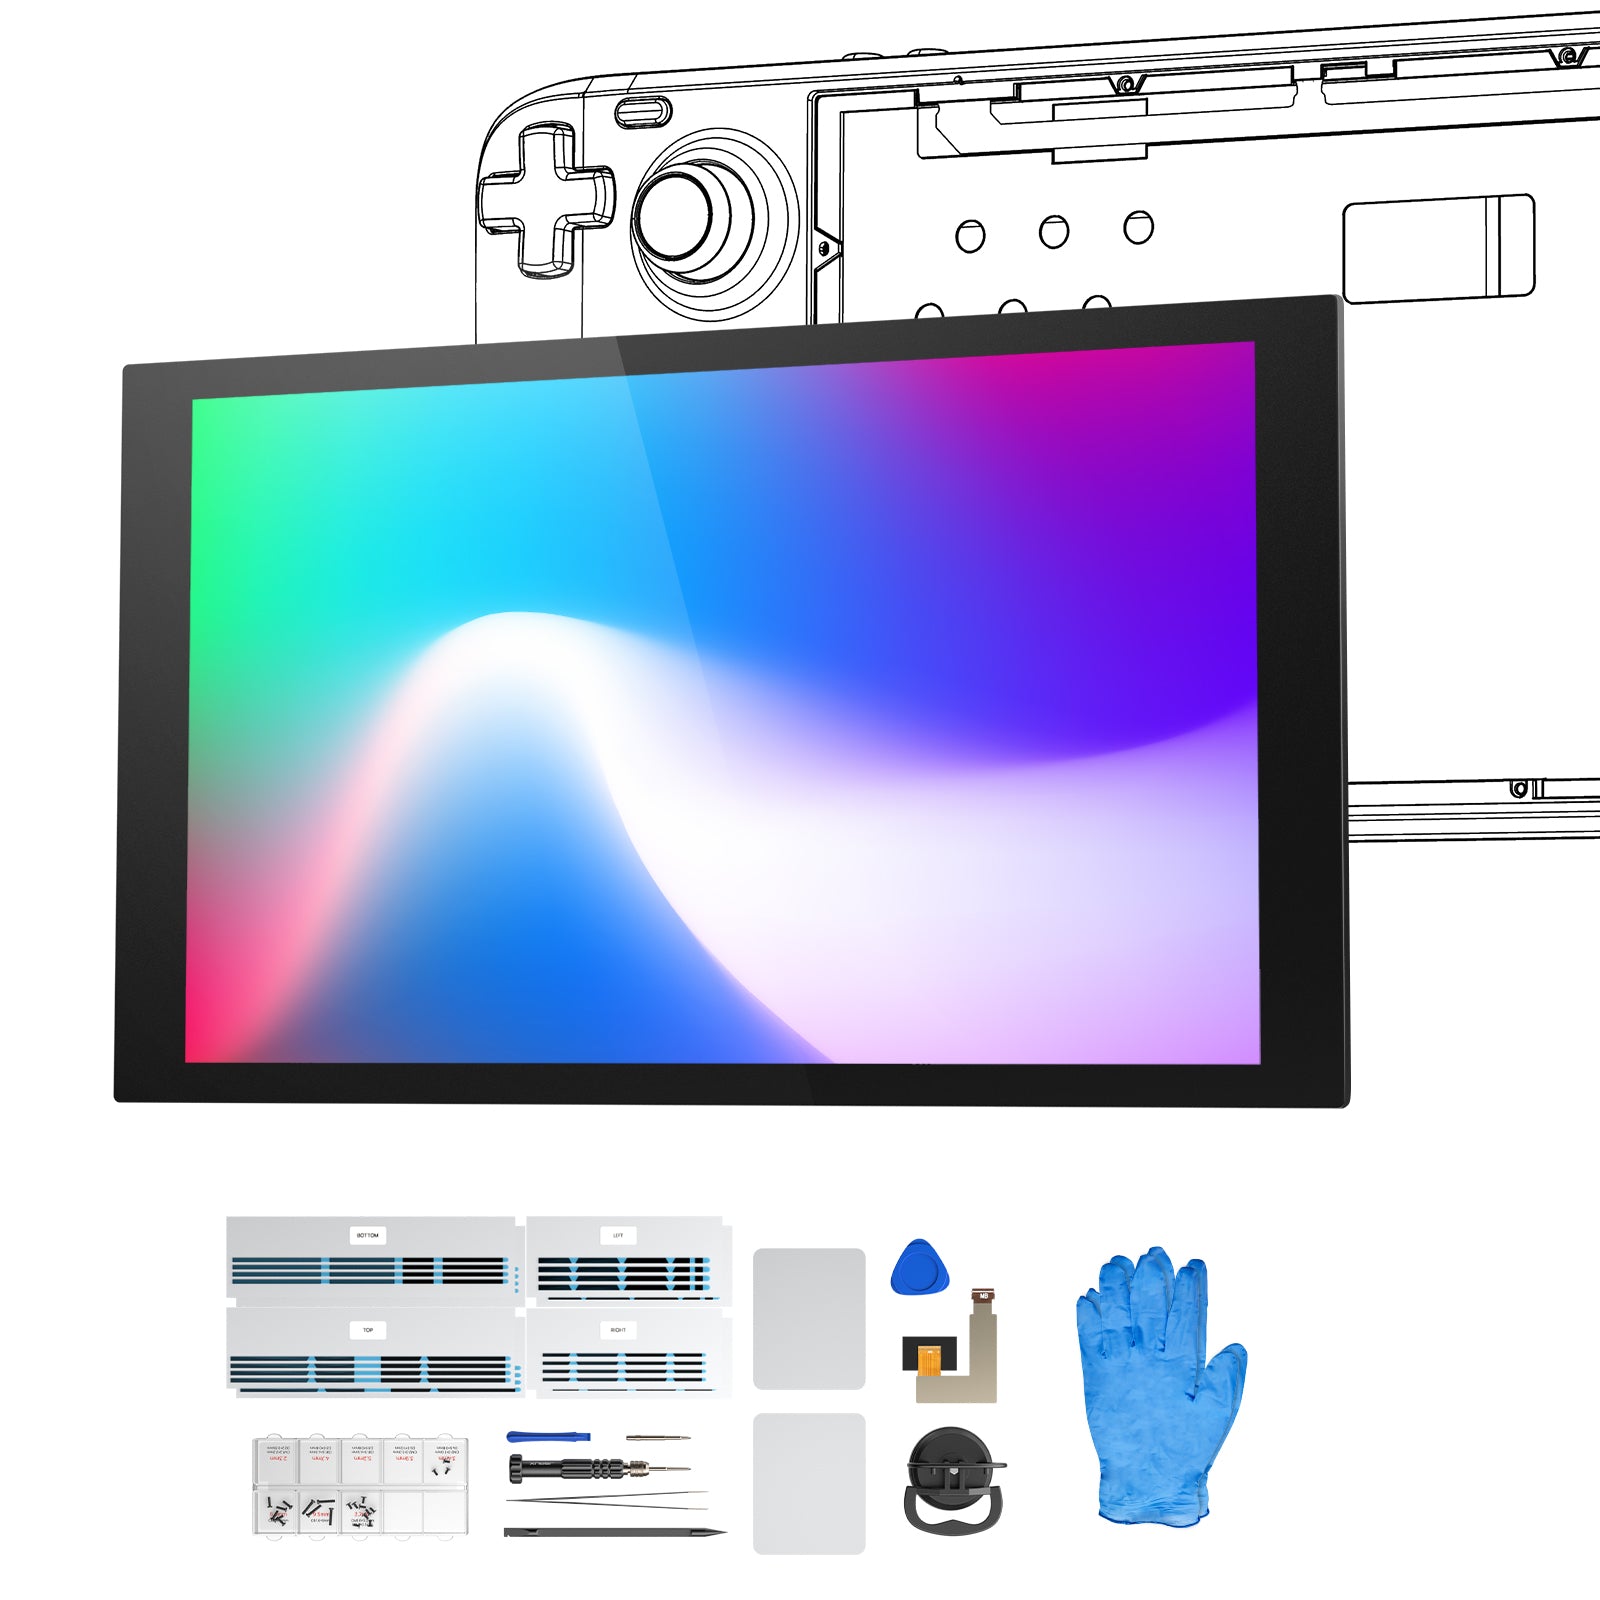
1. Screw Driver
Q1. l only received one screwdriver tip, where is the other tip?
A1. The additional screwdriver tip is located inside the screwdriver itself. Please pull down the cover at the top of the screwdriver and pour out the other screwdriver tip.
Q2. How do I replace a screwdriver tip?
A2. To replace the screwdriver tip, frstly, unscrew the ring buckle at the front end of the screwdriver, remove the current screwdriver tip, and then mount new screwdriver tip and tighten the buckle.
2. Pry Tools
Triangle Pry Tool: Used to separate the front cover from the back cover.
Blue Pry Tool: Used for separating the front cover and back cover.
Black Pry Tool: Used for prying triggers; can also be used to pry FPC connectors; the flat head can be used to clean screen adhesive.
3. Screen Adhesive Cutting Blade
Used for cutting adhesive when removing the screen.
Q1. Tips for Usage:
1. When separating the front cover and back cover, insert the blue pry tool or triangle pry tool first.
2. After using dryer to heat the surrounding area of the screen, using a suction cup to fix the screen, then insert the Screen Adhesive Cutting Blade and slide along the edges to separate the screen and the machine.
3. Please control the insertion distance to prevent damage to internal components.
4. Screen Adhesive
Used for fixing the Anti-glare screen well.
Q1. How to remove the adhesive?
1. Place the entire screen on a large work surface, ensuring there are no obstructions in the middle.
2. Use the provided black pry bar with a flat head to gently peel off the adhesive.
3. Do not use metallic objects to clean the adhesive around the middel frame.
4) Try to avoid using liquid cleaners near the adhesive.
Q2. How to paste the adhesive?
1. Ensure that surface is clean before applying the adhesive.
2. Confirm the correct position before removing the backing from the adhesive.
3. Align the adhesive with each hole or opening.
4. Press down on the adhesive after applying it to ensure proper contact.
5. Slowly peel off the backing without pulling off the adhesive.
Q3. How to deal with a failed adhesive application?
1. If a part of the adhesive is misaligned, you can remove that portion and replace it separately.
2. If the holes are not aligned or the edges of adhesive extend beyond the frame, you must remove and reapply the adhesive.
Tutorial for removing and installing cables
Q1. Battery FPC Cable
A1. Removal: First, untangle any adjacent FPC cables. Then, locate the short head of the battery FPC cable. Grip the short head and firmly pull it out from the slot or gap.
Installation: Align the FPC cable properly and insert it directly into the slot in one smooth motion.
Q2. Fan FPC Cable
A2. Removal: Simply unplug the cable by firmly gripping the connector and pulling it out. Avoid pulling directly on the wires and handle the connector carefully.
Q3. Display flex FPC cable
A3. Removal: Open the lock on the ZIF interface, and then pull the plastic sheet on the cable to pull out the plug of the display cable.
Q4. Screen FPC cable
A4. First, uncover the heat sink sticker and flip the motherboard horizontally.
Second, tear off the sticker covering the cable, pick the lock on the ZIF seat, and remove the screen FPC cable.
Q5. I broke/pried the cable during disassembly, what should I do?
A5. For this problem, you can go to a professional repair shop to buy a new cable.
Specific Problems and Troubleshooting
Normal problems during installation
Q1. Dos of removing the screen
1) Remove other components that can be detached, taking care not to damage them during the screen removal process.
2) Monitor the surface temperature of the screen during the heating process to avoid overheating.
3) The adhesive on the back of the screen takes around 20-30 seconds to soften after heating. It is recommended to wait a bit after heating.
4) Ensure proper usage of the suction cup, referring to the installation tutorial and ensuring a firm attachment.
5) After confirming that the screen ribbon cable has been disconnected, position the suction cup in the area where you can exert the most force, preferably in the upper-left corner. This is to avoid users attempting to remove the screen without disconnecting the ribbon cable, which could result in damaging it.
6) Slowly increase the force applied while using the suction cup and closely observe the gap between the screen and the cover.
7) If the gap unchanged after applying a certain amount of force, it indicates insufficient heating and further heating is required.
8) When the gap loosens slightly, insert one corner of the screen adhesive cutting tool about 3-5mm deep.
9) Start cutting the adhesive using the screen adhesive cutting tool, without applying any pulling force on the suction cup at this point.
10) Once the adhesive has been cut on all four sides, use the suction cup to lift the screen.
11) After removing the screen, place it aside and allow it to cool down to ambient temperature before proceeding with further operations.
12) If the adhesive cutting sheet becomes delicate when inserting the gap, you can cut the damaged part and use the rest part.
Please note that these steps should be cautiouly performed to avoid any damage to the screen or other components.
It is recommended to follow the specific instructions provided by the manufacturer or seek professional assistance if needed.
Q2. Don'ts of removing the screen
1) Do not attempt to lever the screen hard.
2) Avoid using hard or metallic screen adhesive cutting tools.
3) Do not forcefully pull the screen if it has not been adequately heated.
4) Avoid prolonged heating in one specific area of the screen.
5) Do not use excessively high temperatures during the heating process.
6) When heating, try to avoid the middle section of the screen and heat only on the edges.
7) The suction cup should be positioned near the four corners of the screen and should not be fixed it in the middle of the screen for operation.
8) Do not perform the screen removal process while a tempered glass or other screen protector is still attached.
These advice are essential to follow to prevent screen damage and ensure a safe removal process.
Q3. When removing the screen, the screen is cracked, what should I do?
If your screen is badly cracked, covering it with a layer of clear tape. Alternatively, the very strong tape may be used instead of the suction cup.
Q4. After the screen is installed, the bayonet for the screen cable is not seen on the back. What's the matter?
Before placing the screen in the middle frame of the steam deck, please ensure that the cable interface is on the back of the screen to make sure it is on the same side as the hole connecting the screen cable.
Q5. What should I do if the screen protrudes or the screen is uneven after installation?
1) Check whether the original adhesive on the screen and the adhesive on the middle frame have been cleaned and whether the new adhesive is smooth.
Note: Be sure to remove the previous adhesive before applying the new adhesive.
2) Check if the 6 small screws on the front are not screwed in place.
If the screw caps are elevated too high, which may causes the screen to protrude. Be sure to tighten the small screws appropriately.
3)Check whether the triangular buttons on the bottom cover and the middle frame are aligned and fastened.
Q6. Why does my Steam Deck show black screen after replacing the anti-glare screen but hear sounds coming from the device.
1) According to the installation tutorial provided by Jsaux, please reconnect the screen cable of Jsaux, ensuring that the screen FPC cable is properly connected. Check if the JSAUX anti-glare screen can function normally.
2) If the first method doesn't work, try connecting the original screen FPC cable accurately to the JSAUX anti-glare screen. This should restore the anti-glare screen to normal.
3) If the above methods do not work, use Jsaux's screen FPC cable to connect the original Steam Deck screen and check if the screen operates correctly, and contact our support team.
Q7. Why does my Steam Deck display a distorted screen or show garbled/mosaic patterns after I replaced the anti-glare screen?
1) According to the installation tutorial provided by Jsaux, please reconnect the screen cable of Jsaux, ensuring that the screen FPC cable is properly connected. Check if the JSAUX anti-glare screen can function normally.
2) If the first method doesn't work, try connecting the original screen FPC cable accurately to the JSAUX anti-glare screen. This should restore the anti-glare screen to normal.
3) If the above methods do not work, use Jsaux's screen FPC cable to connect the original Steam Deck screen and check if the screen operates correctly, and contact our support team.
Q8. Why does the automatic screen brightness adjustment function fail?
The automatic brightness adjustment function of the screen not working could be due to the following reasons:
1)Check if the audio board cable is properly connected. Ensure that the audio board cable is securely connected to the corresponding interface without any looseness or detachment.
2) Verify if the motherboard cable is properly connected. Ensure that the motherboard cable is securely connected to the screen interface without any looseness or detachment.
3) Check the adhesive on the back of the screen. Confirm that the screen adhesive is correctly applied between the screen and the motherboard without any wrinkles or gaps.
Other Problems
Q1. The fan does not spin after installing the front cover.
If the fan does not spin after installing the front cover, there could be several reasons:
1) If the machine's temperature is low, the fan may not spin when it is turned on.
2) If the fan still does not spin after launching a game or putting the machine under load, ensure that the fan connector is properly connected. Check the connection between the fan and the motherboard to ensure it is secure.
3) It is possible that the fan itself is faulty. If you have checked the connections and the fan still does not spin, you may need to purchase a replacement fan and install it yourself.
Q2. Device fails to power on
If your device fails to power on, please follow these steps to troubleshoot the issue:
1) Check if the battery is in protection mode, connect with power supply, and attempt to power on the device again.
2) Verify that the power cables inside the device are securely connected. Ensure that the power cable connectors are properly inserted and secured to the motherboard or power unit.
3) Inspect the connections of other cables, including the motherboard cables and screen cables. Make sure all relevant cables are properly connected.
4)Confirm that proper electrostatic discharge precautions were taken throughout the disassembly process. Electrostatic discharge can potentially damage electronic components. Ensure that you used an antistatic wrist strap or other electrostatic protection devices while handling the device.
5)Check if there was any pressure applied to the motherboard, or if any metal objects or liquids came into contact with it during the disassembly process. This can cause the device to fail to power on. Thoroughly examine the area around the motherboard for any foreign substances or damage.
Q3. Why is there no sound from the speaker?
1) Press the volume buttons to confirm if they can adjust the volume and check if there is any sound after adjustment.
2)Verify if the audio board cable is properly connected.
3) Confirm if the motherboard cable is properly connected.
4) Ensure that the connector on the motherboard for the speaker is correctly connected and that the wires extending from this connector are intact.
It is recommended to carefully check these potential causes and ensure proper connections. If the issues persist, it may be necessary to seek assistance from a professional technician to further diagnose and resolve the problems with the microphone or speaker. Please note that handling hardware components requires caution and expertise to avoid further damage.
Professional video and text versions of the installation tutorials are provided, please use them together.
Learn More


![#style_[2-pack] for all rog ally models](http://jsaux.com/cdn/shop/files/GP0113A-Anti-Glare-Screen-Protector-for-ROG-Ally-_-ROG-Xbox-Ally-Series-1_jpg.png?v=1762310072&width=92)


![#style_blue&orange [2-pack]](http://jsaux.com/cdn/shop/files/90_-USB-C-to-USB-C-Right-Angle-Adapter-blue-orange-1.png?v=1755238920&width=92)


